
As a creator, you are always looking for ways to improve your video quality and provide the greatest content for your audience. Although the idea behind the content is the biggest factor, you cannot truly prosper without sufficient lighting.
The right lighting lets you create a great cinematic without the need for costly camera equipment. In addition, the initial recording will be much better, so you will save lots of time in production and editing.
In this article, we’ll talk about some of the lighting tips you should implement in your studio to come up with better videos for YouTube. This will benefit the further growth of your channel, and you’ll surely receive inner satisfaction by providing content to the best of your ability.
1. Provide enough lighting
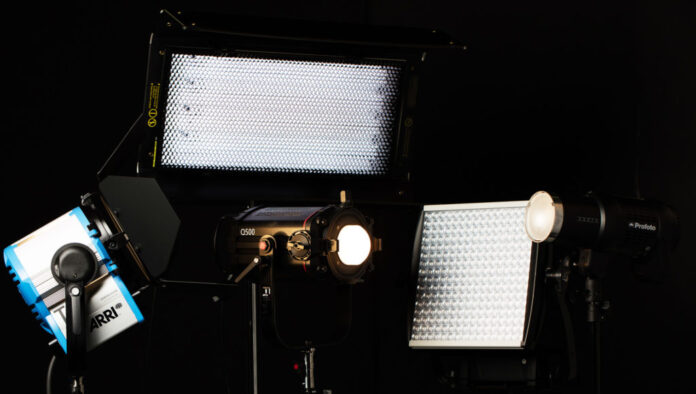
Before we get to the details, it is important to state the obvious. You cannot provide good quality videos without enough lighting. You can do that by incorporating your natural lights in case you are filming during the daytime, or use an affordable set of an artificial home studio video lighting kit.
Proper lighting does a couple of essential things to the shot. It first attracts the attention of the viewer which is the most important thing. Secondly, it helps in setting up a mood for the scene, and lastly, provides the right amount of visibility required by your content.
To see whether you’ve enlightened the subject properly, you need to do some testing. Since your camera does not pick up lights like your eyes, testing is essential to see whether you need to adjust the scene or you are ready for filming.
While providing enough lighting is essential, you must be sure you are not overdoing it as well. For example, if there are lots of shadows, you will have to move closer to a soft source. On the contrary, if the subject is overwhelmed with lighting, you should move it away.
2. Avoid lighting from above
By standing beneath light sources coming from above you will easily notice how strong the shadows on your face become which leads to bad scenes. This is usually the case with inexperienced creators when they are only relying on their ceiling light as an only source.
For that reason, instead of relying on your ceiling lights, be sure to get lamps that you can easily adjust. They can be used in combination where the lamps can provide direct exposure and decrease all the unnecessary shadows leading to a perfect shot.
3. Ensure proper positioning of your lights
In order to create the perfect scene for your content, the right positioning of your lights is essential. That is why you need to position your lighting source 45 degrees in angle from each other. With that, you are creating a triangle with the subject in the middle, and the camera and light on the different sides.
This is one of the most used filming methods since it provides such great results by capturing both the enlightening and dark side of the subject. In addition, you can play around with the angles and use creativity to achieve results suitable for your content.
4. Use a setup from different angles
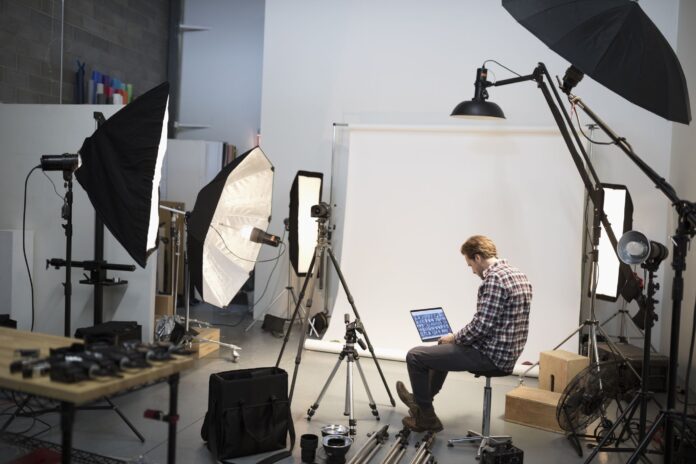
To come up with professional quality videos, you will need at least three lighting sources to create a setup that will light the subject from each side. The main source, like the Moman CL60 studio video lights, is the one that provides enough exposure and dimension. This is usually the source put at 45 degrees angle from the subject.
The second source is the light meant to balance all the harsh shadows. This can be accomplished either with a less-brighter lamp or by using dampers and reflectors to bounce off the lights.
Lastly, you will need to enlighten the background behind the person or subject. They are positioned against the secondary source and they make the person stand out from the remaining of the scene. This kind of setup is used by most creators since it provides great results and it does not cost a lot to build.

5. Avoid too much lighting from behind
Although having background lighting can be essential in providing professional content, you have to be careful. Depending on the camera you are using, some devices are automatically focusing on the light source. With that, if you are having bright lights behind you, you will be completely black.
Unless you are not doing that on purpose, be sure to either put the main lamp in front of you or reduce the brightness from the back.
6. Do not mix different color tones
Another mistake that beginners do is mixing different color tones from their light sources. Even though you will provide enough brightness of the subject, your white balance will be completely messed up. With that, you can expect the video to be either yellow or overly white which is not something you’d want. For that reason, be sure to get your studio lights for videography with the same color tone.
7. Consider using diffused lighting
Sometimes, the dramatic scenery that strong lights are producing is not suitable for your content. That is the reason why most creators are relying more on diffused sources to come up with a smoother scene.
The soft lights are evenly spreading over the subject leaving fewer shadows. You can imagine this by taking an outside portrait picture on a cloudy day. Soft sources are essential for lots of creators. However, you don’t need to spend a fortune on purchasing separate sources. You can simply add diffusers to your existing recording studio-led lighting and achieve great results.
8. Be careful about the light in the subject’s eyes
Lastly, you have to be careful about the light present in the subject’s eyes. This is a small detail that makes a huge difference in making the person being recorded lively. For that reason, you have to position your led studio lights for video in a way that is shown in the person’s eyes.

Conclusion
Hopefully, you found these tips helpful for improving your studio lighting for YouTube videos and providing great content for your audience. As you’ve seen, you don’t need the fortune to get a setup. Just one main source for start and a couple of adjustments will get you ready to record on a high level.
Not only you will have to spend less time editing, but the improved lighting will motivate you to work further. All of these adjustments will surely be noticed by your audience which contributes to the growth of your channel.


