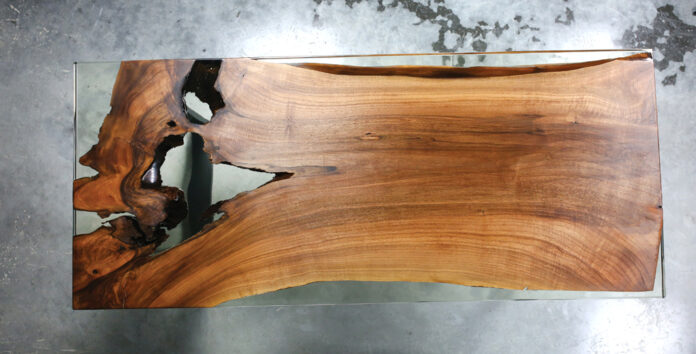
Epoxy resin and wood go together perfectly. Wrapping wood with a layer of epoxy resin is an uncomplicated process and gives the wood a beautiful coating that emphasizes the color of the wood and makes the grain shine.
The material list
You need the following things to apply this layer to wood:
- A piece of wood
- Epoxy resin
- Gloves
- Digital kitchen scale
- Measuring jugs
- Wooden stick for stirring
- Squeegee for distribution
- Flambé burner
- Toothpicks
- Cup as platform
- Protective film or newsprint as a base
How to pick the right kind
There are numerous suppliers, which are suitable for different types of work. The variety of suppliers is accompanied by a variety of mixing ratios between epoxy resin and hardener. Since the material is a two-component material (resin + hardener), each manufacturer specifies individual mixing ratios for their product.
Before we mix the epoxy resin, you have to ask your manufacturer about the mixing ratio. Usually, you will find information on the labels of the products or in a package insert supplied with the product.
More about wood and epoxy, you will find on resin-expert.com epoxy wood tutorial.

Safety precautions at work
No matter what you plan to do with your resin, it would be best if you always took the right safety precautions first. Especially protective clothing plays an important role to avoid skin and eye irritation, but also the mixing containers are crucial.
Determine the right amount
Before you make a random amount of the mixture “by feel,” you should check with the manufacturer regarding the recommended quantity. The manufacturer often advises on how much of their mix covers an area of one square meter, for example.
If the manufacturer is unable to provide information on this at short notice, you can use product ratings or a quantity calculator for casting resin.
Since the viscosities of the products are different, you must expect deviations from your product. As a guide value, this calculator works exceptionally well.
The result that the calculator gives you is based on the total amount of resin and hardener. Now you have to convert the full amount to the individual components of resin and hardener.
There are two different procedures for this: The ratio by weight and the rate by volume
On the Internet, you will find several calculators where you can enter the area of your workpiece to find out how much of the resin-hardener mixture you need. For example, for one sqm, you need about 1.5 liters of the combination of epoxy resin and hardener – of course, depending on the brand of gum and the thickness of the coating. This step is essential so that you can coat the wood with an additional layer without wasting much of the precious mixture.
Mixing the resin and the hardener
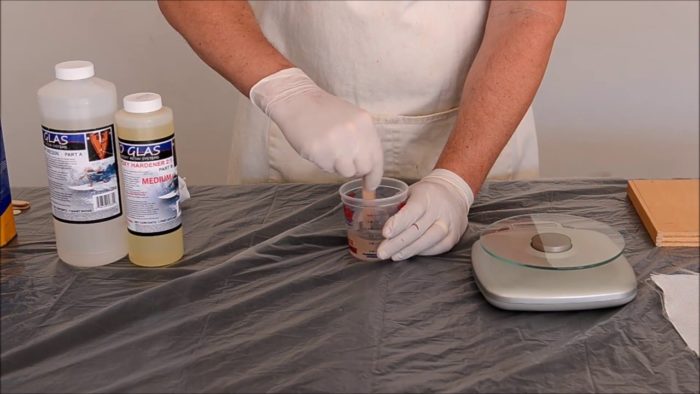
The resin-hardener mixture must be stirred extensively. On the left, you see a very “bland” consistency immediately after pouring. On the right picture, you see a homogeneous liquid after thorough stirring.
With gloves on your hands, you can now start the resin action. You have to mix the two components of the epoxy resin so that the liquid can harden later.
The exact mixing ratios are always determined by the manufacturer and must be strictly adhered to. Some manufacturers choose a 1:1 ratio between resin and hardener, others a 2:1 or even a 4:1 mixture.
Then stir the liquid in your measuring cup carefully with a wooden or plastic stick for at least one, better three minutes until both substances are thoroughly mixed together. Scratch the edge and bottom of the measuring cup several times with the stick to stir in these parts as well.
Mixing epoxy resin by weight
Now place the measuring cup on the scale and tare it to zero grams. Now pour the resin first into the measuring cup according to your conversion. Then pour the hardener according to your calculation also in grams.

Mixing epoxy resin by volume
As the two substances have different densities, the mixing of the amount in the mixture is mixed from the blend by weight. Usually, the resin is denser than the hardener, so you need more of the hardener in volume units to make the right mixture.
Again, there are differences between different manufacturers, which are usually indicated on the labels.
Pour the layer on the wood
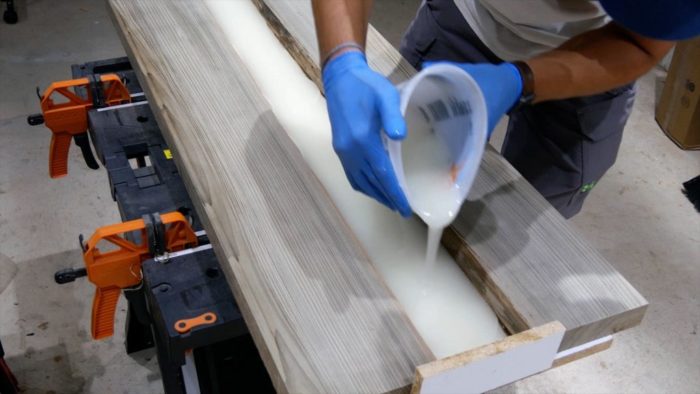
Now pour the resin mixture in the middle of your wooden surface and spread it carefully with a squeegee to all sides. Instead of a squeegee, you can also use a wooden stick or another object that is suitable for pushing.
Depending on the manufacturer, after about 30 to 60 minutes, the mixture will start to be so vicious that you can hardly work it. Mixing and spreading the resin should therefore not take too long, but it should also not be hectic.
Bubble removal
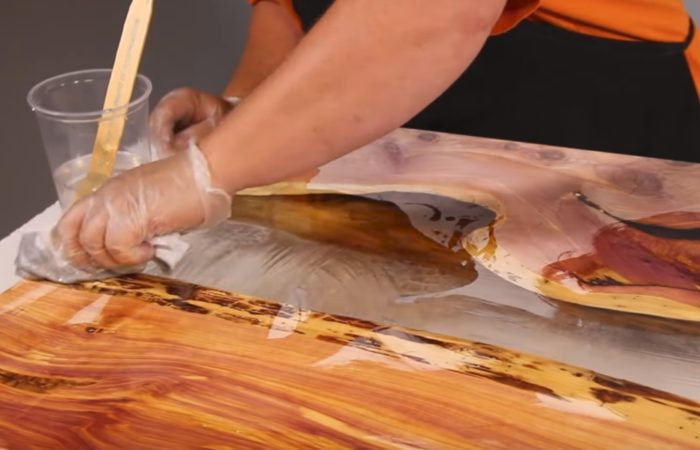
It is quite reasonable that bubbles appear on the wood when the epoxy resin is mixed, poured, and spread. As long as they are not more abundant inclusions, this is not a problem. Now take the flambé burner and move the flame carefully and with circular movements from a safe distance towards the surface bubbles.
The flame should never come into direct contact with the epoxy resin. A distance of 5 to 10 centimeters is usually sufficient to allow the heat of the torch to burst the bubbles without roasting the surface.
Move the torch quickly over your work, and do not hold it for long at one point. It is best to guide it from one side to the other with precise, swift movements.
Once you have done the rough work with the burner, you can use a toothpick to remove the last bubbles from its layer by poking briefly into it. When working with the toothpick, you can also pull small hairs, dust or fluff out of the epoxy resin, which can collect in or on it during the crafting process. If you do not find any residues in your resin layer, the result will be the best.

